
ISO 10993 Bone Implantation Test Laboratory
MICrosoft YaHei", "Microsoft YaHei UI", "WenQuanYi Micro Hei", "sans-serif", 宋体; font-optical-sizing: inherit; font-kerning: inherit; font-feature-settings: inherit; font-variation-settings: inherit; margin-top: 0px; margin-bottom: 0px; padding: 0px; color: rgb(51, 51, 51); box-sizing: border-box; text-wrap: wrap; background-color: rgb(255, 255, 255);">Bone Implantation Test purpose
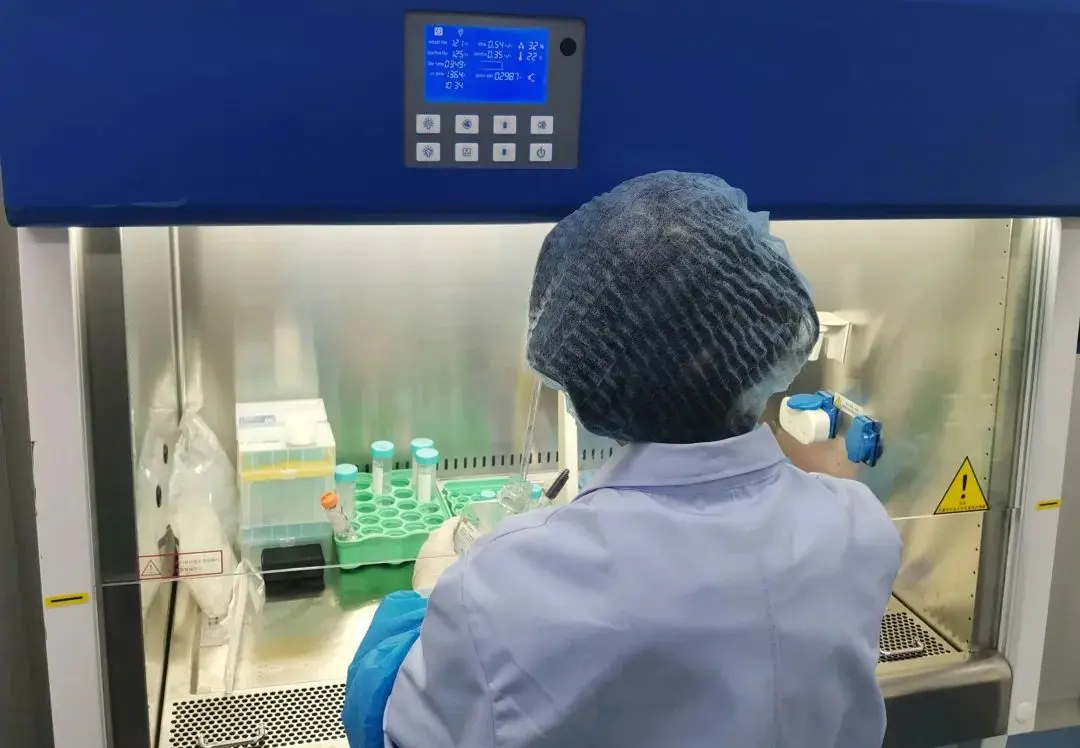
This method involves inserting an implant into the bone tissue of a test animal, comparing the biological responses of the test sample implant with the control sample implant, and evaluating the biological response of the bone tissue to the implanted material. The implant site shoULd be cancellous bone (spongy) or cortical bone, depending on the final use of the material.
Bone Implantation Test standards
GB/T 16886.6 -2022 Biological evaluation of medical devices Part 6: Post-implantation local reaction test;
iso 10993-6:2016 Biological evaluation of medical devices—Part 6: Tests for local effects after implantation.
3. Sample preparation
Solid samples can be processed into a screw shape or engraved with threads to ensure that the implant can maintain its initial stability in the bone. If it is not possible to process it into a screw shape, it can be made into a cylindrical shape. Other sample shapes (such as rods, pastes) can be used according to material properties and test purposes.
The implant size is determined based on the selected test animal and the size of the bone. The following typical sizes should be consideRED for mid-diaphyseal cortical implants:
a) Rabbit: cylindrical implant with diameter 2mm and length 6mm;
b) Dogs, sheep and goats: cylindrical implants with a diameter of 4mm and a length of 12mm;
c) Rabbit, dog, sheep, goat and pig: 2mm~4.5mm intraosseous screw implant.
4. Selection of control samples
The control sample can be a marketed control, or a negative control material can be selected according to Appendix A of GB/T 16886.12, such as PE, silicone resin, alumina, and stainless steel.
5. Experimental Animals
Implants should be implanted in the bone of rodents, dogs, sheep, goats, pigs or rabbits, one of which is selected according to the principles outlined in ISO 10993-2. Physiological differences in bone between species are important and should be assessed prior to implantation. In addition, bone quality may vary between non-purpose-bred animals of the same species and bone density may need to be measured to identify appropriate test animals and to interpret test results.
6. Implantation site
Test and control samples should use equivalent anatomical sites, and the test implant should be implanted on the opposite side of the control implant. The implant site should be selected to minimize the risk of implant migration. At least 10 test samples and 10 control samples should be evaluated per implantation period. Tissue samples used to evaluate a material should be obtained from at least 3 animals.
The number of implantation sites should be as follows: Rabbits should have a maximum of 6 implantation sites per animal, including 3 test samples and 3 control samples. Dogs, sheep, goats, or pigs should have a maximum of 12 implantation sites per animal, including 6 test samples and 6 control samples. No animal should have more than 12 implantation sites.
Animal size, animal weight and age, and implant site should be selected to ensure that implant placement does not pose a significant risk of pathological fracture at the test site. When working with young animals, it is particularly important to ensure that the implant avoids the epiphyseal region or other immature bone.
7. Implantation steps
During bone preparation, drill the bone intermittently at a low speed and irrigate the bone adequately with saline and aspirator, as overheating can cause local tissue necrosis.
A good fit of the implant diameter to the bone implant bed is essential to avoid fibrous tissue ingrowth into the bone.
Expose the cortex of each femur or tibia and drill the appropriate number of holes for implantation of the specimen. Prepare up to 3 holes for rabbits and up to 6 holes for larger animals. Expand the holes to their final diameter or tap the threads before implantation. The cylindrical sample is inserted by pressing with fingers, and the screw-shaped implant is tightened into place with a predetermined torque using an instrument and the torque is recorded.
8. Implantation cycle
The test period should be determined based on the possible clinical exposure time, or the time until the corresponding biological response REACHes or exceeds a certain stable state, and the selected time point should be explained and justified. Ensure that biological tissue responses reach a steady state. Table 1 shows the standard recommended long-term implant observation period options.
Table 1. Selection of observation period for long-term implantation in subcutaneous tissue, muscle, and bone
animal species | Implantation period (weeks) | ||||
13 | 26 | 52 | 78 | 104 | |
Mouse | × | × | × | — | — |
Rat | × | × | × | — | — |
guinea pig | × | × | × | — | — |
Rabbit | × | × | × | × | |
dog | × | × | × | × | × |
sheep | × | × | × | × | × |
goat | × | × | × | × | × |
pig | × | × | × | × | × |
9. Sampling
At the end of the experiment, the animals were euthanized and samples were collected after dissection. Pathological sections were made and HE staining was performed.
10. Biological response evaluation
Biological reactions are evaluated by recording macroscopic and histopathological reactions observed at different time points. Compare the reactions of the test sample, control sample or sham operation site. Score the local biological reactions after implantation according to Appendix E of GB/T 16886.6. Determine the tissue reaction of the device according to the table below, compared with the marketed control or the information control.
Table 6. Histopathological results
total score | Organizational response |
0.0~2.9 | No stimulation |
3.0~8.9 | slight irritation |
9.0~15.0 | Moderate irritation |
>15.0 | Severe stimulation |
Email:hello@jjrlab.com
Write your message here and send it to us
 Canada ISED Certification RSS-247 Standard Testing
 What Are the Product Compliance for Amazon Austral
 Australia IoT Security Compliance
 V16 Warning Light EU EN 18031 Cybersecurity Certif
 Japan IoT Security JC-STAR Certification
 FCC SDoC Compliance Information Statement
 What Does FCC SDoC Certification Mean?
 What is Bisphenol A (BPA) Testing?
Leave us a message
24-hour online customer service at any time to respond, so that you worry!


